DIY Lipstick Pouch
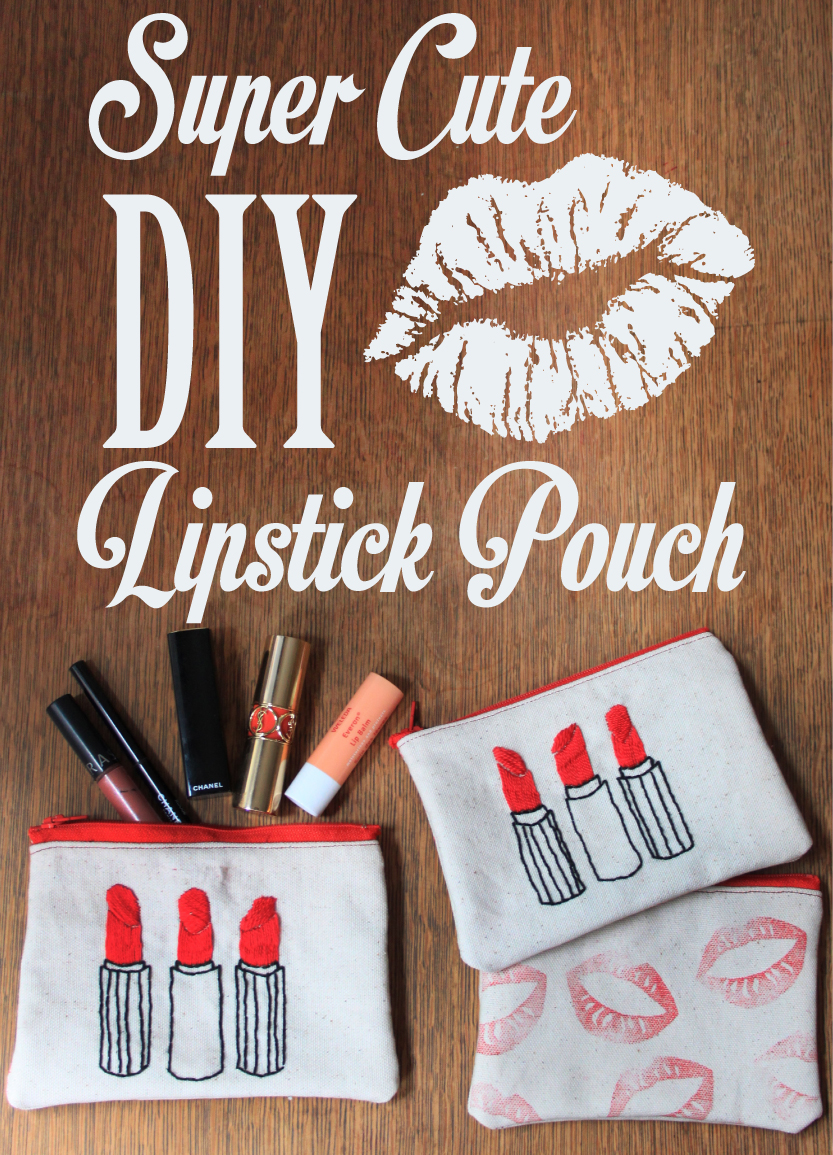
How to Make this Super Cute Lipstick Pouch
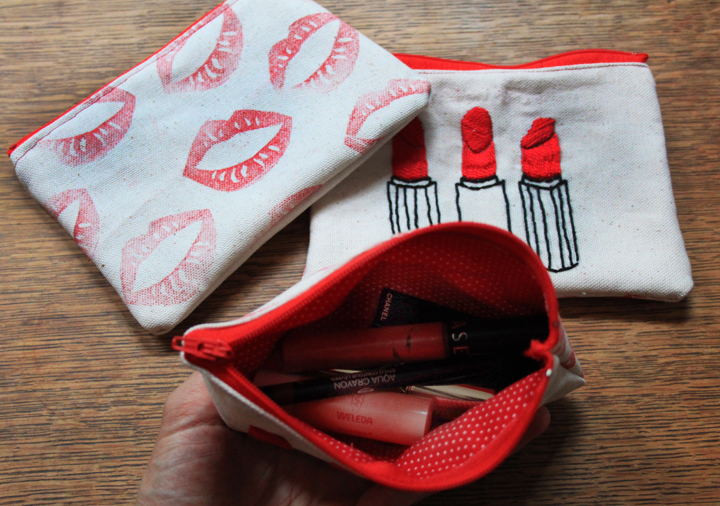
It's that time of year again in my life where I need to start cranking out birthday gifts for all of my sisters and sister in laws. I don't know why there are so many birthdays at the end of August and September? Are there a lot of people who like to give a little holiday gift to their spouse (if you know what I mean)? Or maybe it's just that time of year when it's cold outside and people get extra snuggly and then, well, nine months later you have a little more than you bargained for on that wintry night. Either way, it certainly creates a backlog of gifts that need to get bought/ made all at the same time of year, which is actually pretty convenient. You may remember the scarves I made for sisters last year. They were such a hit that I thought I should try my hand at making my gifts again this year. I came up with this cute little lipstick pouch that was actually super easy to make. Girls are always looking for somewhere to stash our lipsticks, mirrors and unmentionables. Girls are just so damn girly with their periods and such, amiright? But girls are also the easiest people I know to make gifts for. Because who needs fifty different pouches in their purse and could always use a new pretty thing? NOT BOYS. I know it looks involved, but I seriously finished them in under a week in just a few hours here and there. I hope you will try making it for your sisters or friends or as a treat for yourself.
Supplies:
- craft foam with sticky backing
- exacto knife
- fabric safe stamp pad in red
- canvas or linen fabric
- cotton lining fabric (I chose a red polka dot)
- black and red embroidery floss
- embroidery needle
- small embroidery hoop
- 6 inch red zippers

1. Cut 4 squares out of craft foam with sticky backing. Remove the backing from 3 of the squares and sandwich all four squares together so that the back square has the backing still intact. Draw a lipstick kiss on the foam. You can download a lipstick kiss image to trace HERE.
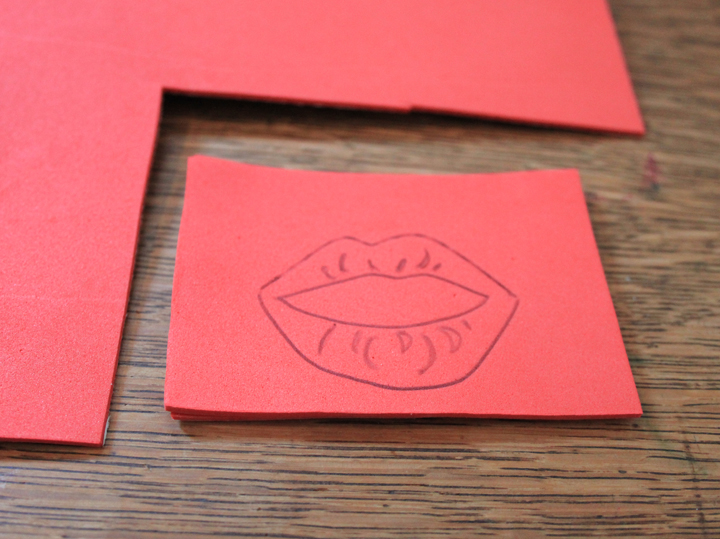
2. Use an exacto knife to cut away the negative space in the lipstick kiss. Tear the craft foam up where you have cut the negative space out of the foam.

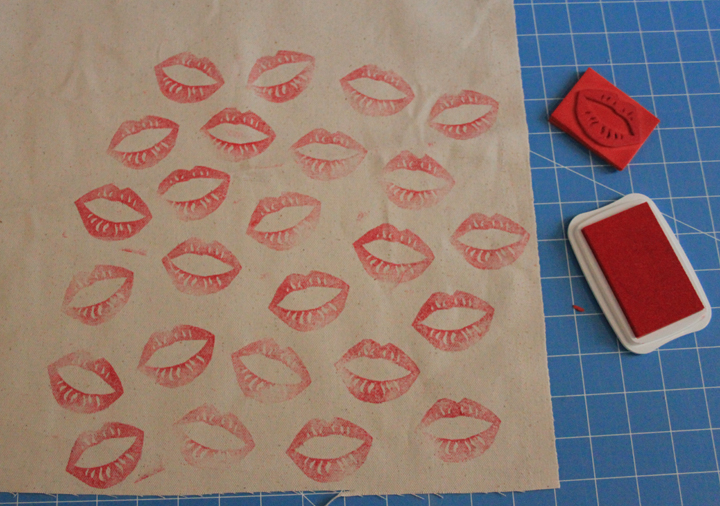
3. Test the kiss stamp on a piece of paper before using it on the fabric.

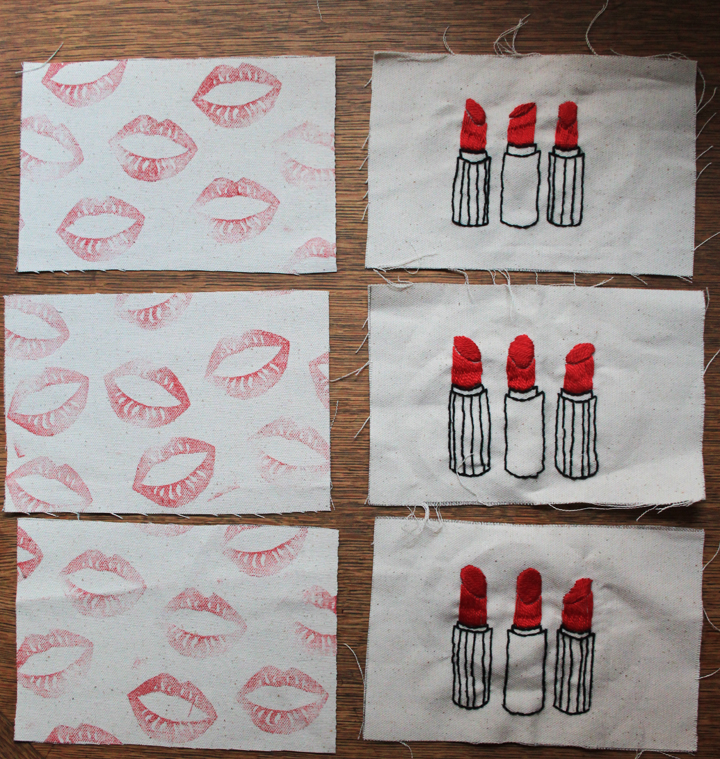
4. Stamp the fabric however you want.
5. Cut the lipstick stamped fabric into 6 x 4 inch rectangles. Cut the unstamped fabric into 6 x 4 inch rectangles. I made three pouches so I cut three rectangles from each fabric.
6. Draw lipstick tubes onto the fabric. I did mine free hand, but you can print the image below to trace if you need to.
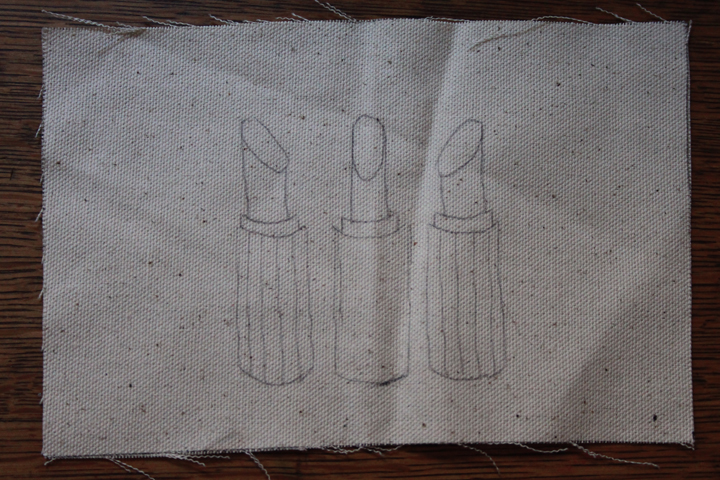
7. Use black embroidery floss to outline the lipstick tubes. Use a backstitch illustrated below.


8. Use the red embroidery floss and a satin stitch to fill in the lipstick part of the tubes.


9. Cut 6 x 4 inch rectangles out of the lining fabric. You will need two rectangles for each pouch. Lay the embroidered rectangle face down and then lay the backing fabric face up on top of it. Turn over and pin the zipper, face down, to the top of the fabrics.


10. Sew the zipper down using a zipper foot and a straight stitch. Now pin the other side of the pouch, the lipstick stamped fabric and lining fabric, to the other side of the zipper.
11. Iron the zipper seams flat and then sew them down using a straight stitch.


12. Unzip the zipper about an inch and sew the pouch inside out using a straight stitch and then a zig-zag stitch on the edges to prevent fraying. Unzip the pouch the rest of the way and turn right side out.