Pillowcase with Piping Tutorial

How to Make a Pillowcase with Piped Edges and a Zipper
Ok people. This tutorial is a bit advanced, but not that hard to master. This was only my second attempt at making a pillow with piped edges and I think it came out really well. I'm in the process (or should I say, I'm constantly in the process) of redecorating my apartment living room. I don't love the couch we have, but I'd rather not buy a new one since my daughter is only 2 1/2 and has many more years of destroying my belongings ahead of her. And, my cat is only 11 years old so I have at least another 5 loooooong years of him shredding my couch like it's his worst enemy. (Anyone want to adopt an eleven year old fluffy, black and white dum dum?) So, instead of buying a new couch I'm dressing up the old one with new throw pillows and a throw blanket that covers the shredded part of the couch. Throw blanket tutorial is in the works....
For this project you are going to need a zipper foot attachment for your sewing machine so go ahead and start rummaging through your sewing drawer, desk drawers, sewing kit, bathroom cabinet, etc until you find the long lost treasure. Now that you've torn apart your entire house looking for that elusive little piece of metal, you are ready to start making some stylish, super profesh pillow cases!
Supplies:
- upholstery fabric or light weight canvas
- cording for the piping
- pillow insert
- invisible zipper
- zipper foot attachment for sewing machine


1. Measure and cut:
- 8 1 x 18 inch strips for the piping
- 3 3 1/2 x 18 inch strips for the sides
- 1 4 x 18 inch strip for the zippered side
- 2 3 1/2 x 3 inch squares for the zippered side (not pictured below)
- 2 18 x 18 squares for the top and bottom


2. Sew the piping strips together so that you have to long strips that each have 4 strips sewn together.

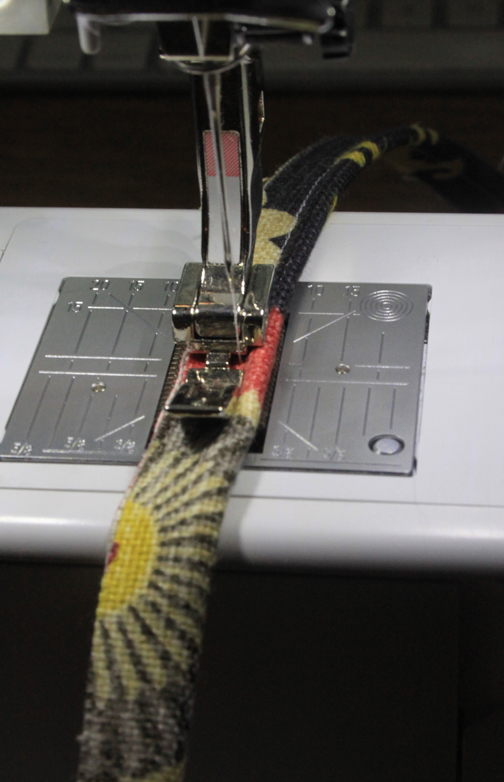
3. Pin the cording into each of the piping strips. Then sew the piping together using a zipper foot on your sewing machine. Try to stitch as close to the edge of the cording as you can.

4. Cut the 4 x 18 inch side strip in half. Sew the zipper into the side panel. After the zipper is sewn in place, use the 3 1/2 x 3 inch squares to cover the sides of the panel.


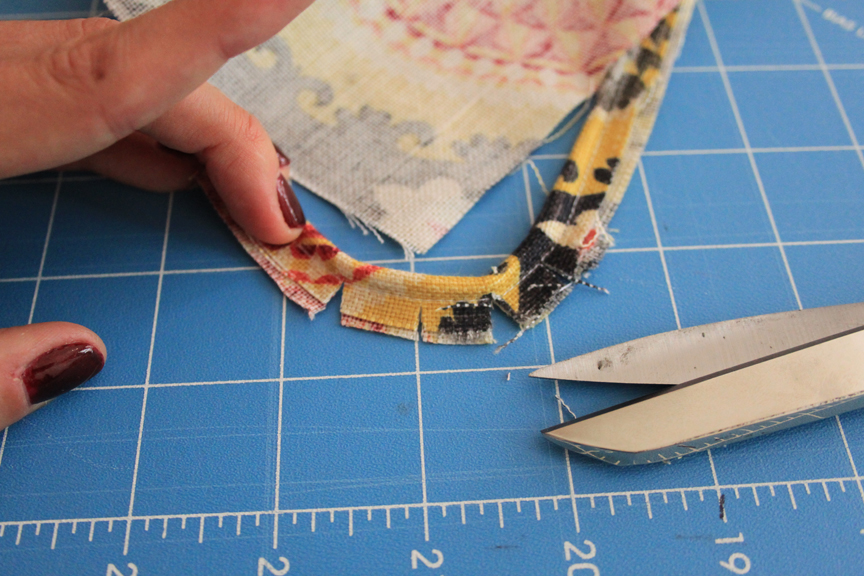
5. Sew each of the side panels together. Then pin the top panel to the sides with the piping pinned between. The piping should face to the interior of the inside out pillow case. Make small slits in the piping (pictured below) on the corners. This will help the piping round the corners.
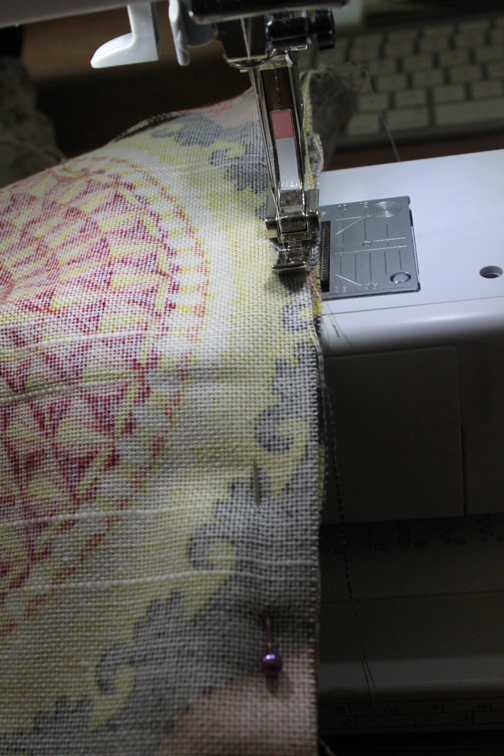
6. Once the top panel, piping and sides are pinned together, sew them together using the zipper foot on the sewing machine. Stitch as close to the cording as possible.


7. Repeat on the other side. Unzip the zipper and turn the pillow case right side out. Stuff with the pillow insert and enjoy!